Categories
Family Friendly Sauces, Dips & Dressings

Amazing Cheese Sauce

Amazing Cheese Sauce

This vegan cheese sauce will take care of all of those cheese cravings.  It is rich, creamy and gooey, and also very nutritious as it is made from mainly vegetables and spices.

Ingredients:

  • 12 oz. russet or gold potatoes, peeled and cut in 1 inch dice (approximately 2 1/2 cups)
  • 1/2 cup carrots (diced)
  • 1/4 cup nutritional yeast
  • 2 tablespoons extra virgin olive oil
  • 1 tablespoon white vinegar
  • 1/2 teaspoon salt, or more to taste
  • 1 tablespoon miso paste (optional)
  • 1/2 teaspoon garlic powder
  • 1/4 teaspoon onion powder
  • Optional for nacho cheese flavor: ¼ cup canned fire roasted diced green chilis, drained; ½ teaspoon minced canned chipotle chili; 1/4 teaspoon ground cumin; 1/8 teaspoon mustard powder

Instructions:

  1. Boil the potatoes and carrots for about 20 minutes or until soft.
  2. Drain them (do not rinse) and add them to a blender. 
  3. Add all the remaining ingredients and blend until smooth, scraping down the sides as needed (adding 1-2 tablespoon of water at a time if needed to blend – be careful not to thin too much). If making nacho cheese flavor, add spices and blend well then add chilis,  pulsing to combine. Some visible chili pieces will be seen.

Dip tortilla chips or use for macaroni and cheese, over steamed broccoli, etc.  We like to make a large batch and freeze in smaller containers. To use from frozen, defrost and warm, whisking with additional water if needed.

Categories
Sauces, Dips & Dressings Vegetables

Roasted Garlic

Roasted Garlic

Roasting makes the garlic mellow and soft, perfect for spreading on toasted bread, or adding to recipes like mashed potatoes, pasta sauce, soups, hummus, etc. We like to roast a bunch and freeze some for later use.

Ingredients

  • Whole garlic bulbs
  • Extra virgin olive oil
  • Salt (optional)

Instructions

  1. Preheat the oven to 350°F.
  2. Trim the top ¼ inch off the top of the garlic bulbs.
  3. On a baking sheet, place the garlic cut-side up on a piece of foil, drizzle with olive oil, and use your finger or a brush to evenly coat the top of the exposed cloves. Sprinkle with salt if desired.
  4. Wrap the garlic in the foil and roast for 45 to 75 minutes or until the cloves are golden brown and soft.
  5. Use right away or freeze.
Categories
Family Friendly Sauces, Dips & Dressings Snacks

Beet Hummus

Beet Hummus

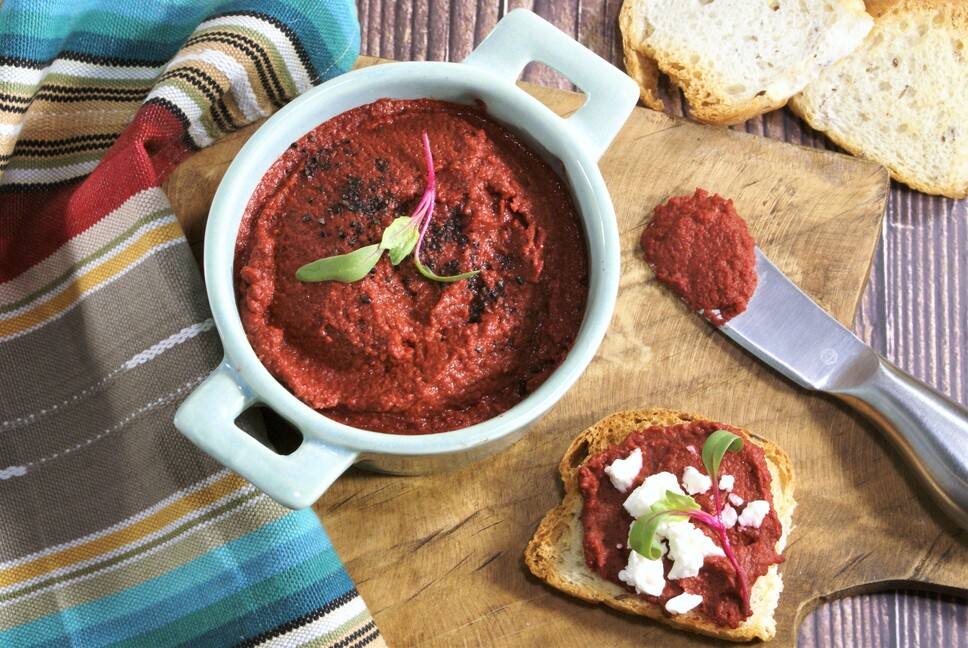
This recipe is a gorgeous addition to your meals, and can be used as a sandwich spread, a dip for vegetables or pita crisps, or as an appetizer on crostini with a sprinkle of goat cheese.

Serves 6-8

Ingredients

  • 3 large beets roasted, peeled, and chopped into ¼ cubes
  • 15 oz garbanzo beans cooked and rinsed
  • 3 large cloves garlic, coarsely chopped
  • 2 tbsp lemon juice (about 1/2 lemon)
  • 1 ½ tsp ground cumin
  • 1 ½ tsp smoked paprika
  • 1 ½ tsp chili powder rounded
  • ½ tsp red pepper flakes
  • 1 tbsp fresh thyme
  • ½ tsp sea salt
  • 3 tbsp tahini
  • ¼ cup vegetable broth

Optional Garnishes:

  • Goat cheese (plant-based or dairy)
  • Fresh thyme
  • Black sesame seeds
  • Drizzle of olive oil


Instructions:

  1. Place all ingredients except tahini and vegetable broth into the food processor. Pulse for 2-3 minutes, scraping down the sides with a spatula as needed to coarsely chop and combine the ingredients.
  2. Add tahini through the top opening and pulse to combine. Pour in vegetable broth with the motor running, adding liquid to your desired thickness.
  3. Place in a bowl or spread on crostini, garnishing with crumbled goat cheese, fresh thyme, black sesame seeds or a drizzle of olive oil as desired.


Adapted from Edible Education Experience
Categories
Sauces, Dips & Dressings

Citrus Peel Powder

Citrus Peel Powder

This makes beautiful and very flavorful powder that you can use to boost flavor and add a brightness to many dishes or desserts. The options are endless.

Makes about ¼ cup

Ingredients

  • Peel from about 10 oranges, lemons, limes, or 5 grapefruit

Instructions

  1. Peel citrus fruit with a vegetable peeler prior to juicing and save peels in a container in the freezer until you have enough. We recommend storing each variety separately to maintain the beautiful color and distinct flavors.
  2. Dehydrate in the sun for 1-2 days, or use a dehydrator or oven at about 150 degrees for 4-6 hours. When the peels are dried, cool and transfer to a coffee grinder (preferred) or blender and grind to a powder.
  3. Store in a sealed jar in the refrigerator.


Adapted from the Scrappy Cooking Cookbook

Categories
Family Friendly Sauces, Dips & Dressings

Avocado Crema

Avocado Crema

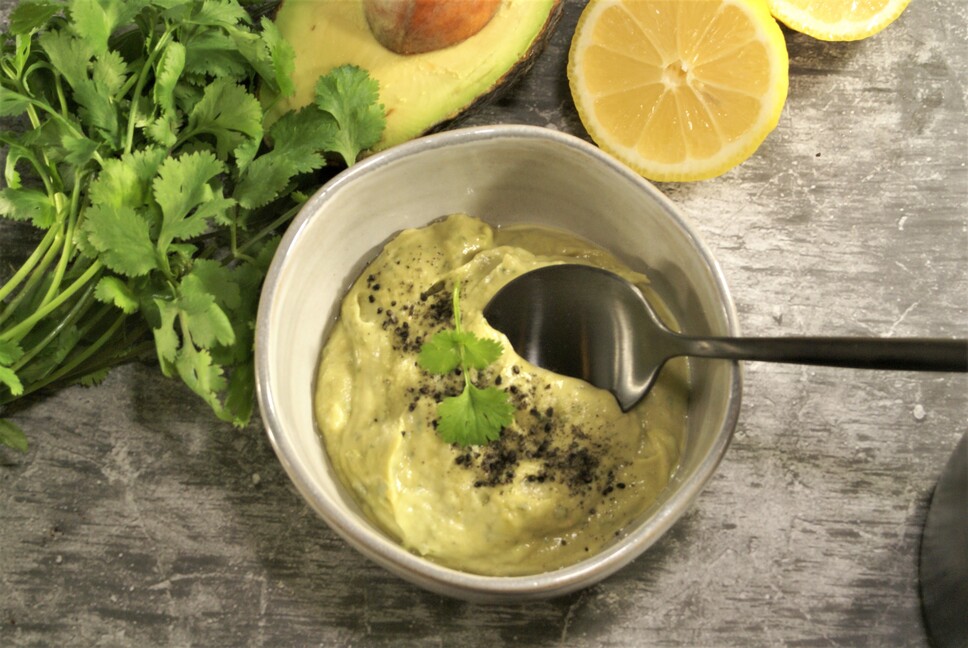
This is a great way to extend the life of your ripe avocados and at the same time create a luscious spread/dip/topping for all kinds of dishes or snacks.

Makes about 3 cups

Ingredients

  • 2 large ripe avocados
  • 1/2 cup Greek yogurt (dairy or plant based)
  • 2 cloves garlic, minced or pressed
  • 3 tablespoons lemon (or lime) juice, freshly squeezed
  • 1/2 cup cilantro (optional)
  • Salt and pepper to taste

Instructions

  • Place avocados, yogurt, garlic, and citrus juice in a food processor and process until smooth.
  • Add cilantro, if desired, and pulse until combined. Add salt and pepper to taste.

Adapted from Edible Education Experience
Categories
Sauces, Dips & Dressings Vegetables

Healthy Hollandaise Sauce

Healthy Hollandaise Sauce

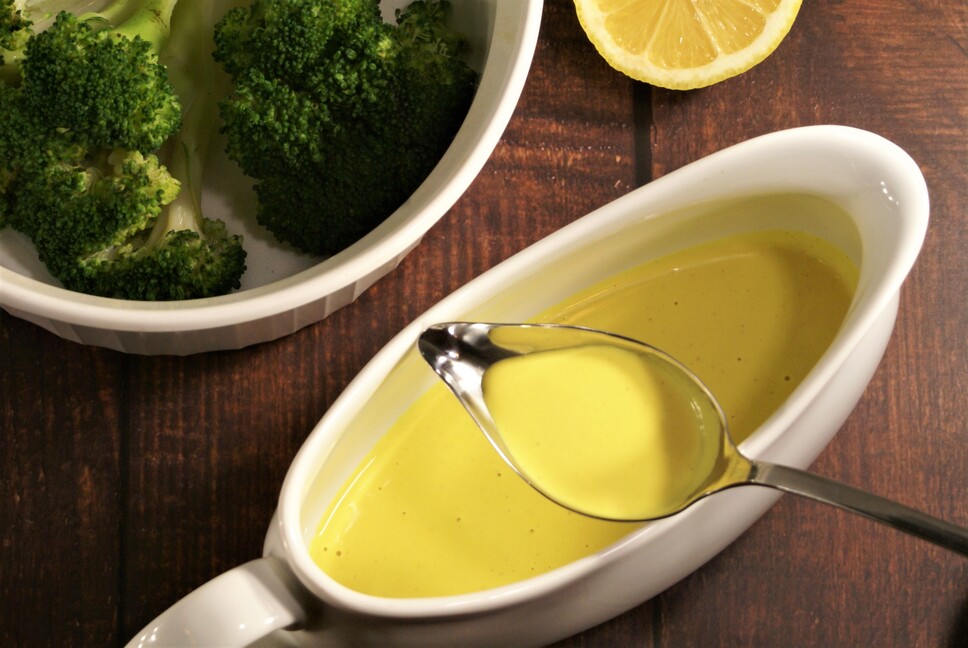
A creamy vegan hollandaise sauce that is easy to make and delicious served with vegetables or vegan eggs benedict.  Can be made ahead and rewarmed for use.

Makes 6 servings

Ingredients:

  • 1 cup Raw Cashews soaked in hot water for 30 to 60 minutes
  • 1/4 cup Nutritional Yeast 
  • 2 Tbsp Lemon Juice
  • 1 tsp Distilled White Vinegar
  • 1 cup Water 
  • 1/2 tsp Turmeric
  • 1 Tbsp Dijon Mustard
  • 1 Tbsp Plant-based butter
  • 1 tsp Garlic Powder
  • 1 tsp Onion Powder
  • 1/2 tsp Indian Black Salt (Kala Namak)*
  • 1/8 tsp Cayenne Pepper

Instructions:

  1. Soak the cashews in boiling water for 30 min to 1 hour. Drain.
  2. Add the soaked cashews to the blender along with the remainder of the ingredients.
  3. Blend until very smooth.
  4. Warm the sauce slightly for serving (do not overheat) by warming over a double boiler with frequent whisking; or heating in the microwave for 20-second increments and whisking well between each heating.
  5. The sauce will thicken while heating. Add small amounts of water at a time to thin if desired.
  6. Serve over steamed or roasted vegetables, baked potatoes, or vegan eggs benedict. Also, try a small amount stirred in to your tofu scramble for a really delicious twist. 

*Kala Namak (Indian black salt) gives an egg flavor.  You can omit this if you do not have it, and instead add sea salt to taste.

Adapted from Loving It Vegan

Categories
Dessert Sauces, Dips & Dressings

Light & Luscious Whipped Topping

Light & Luscious Whipped Topping

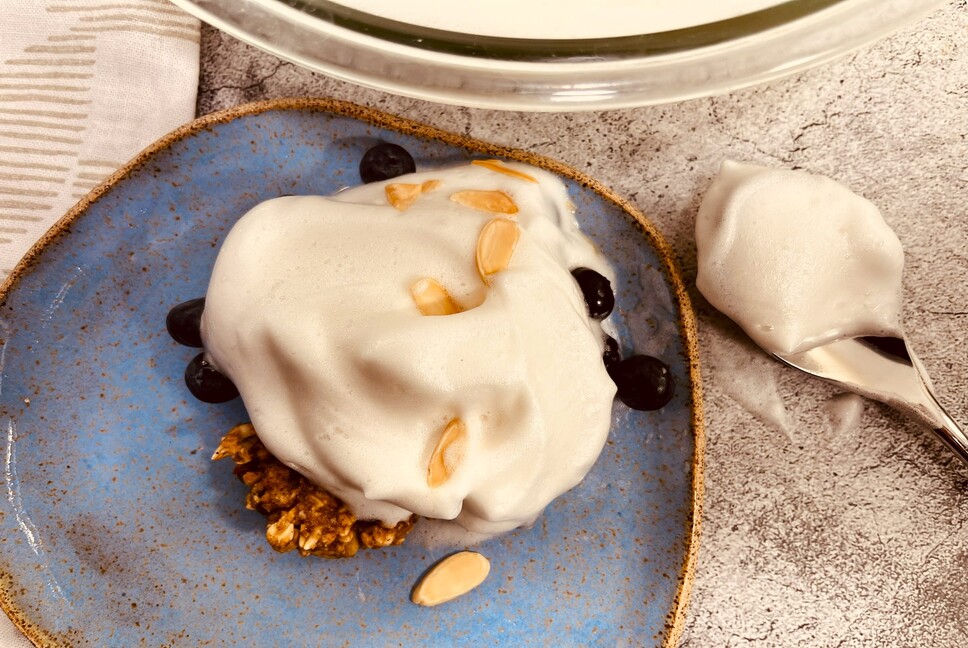
This is a delicious topping that has a light, frothy consistency, a bit like meringue. And it contains no fat making it heart and brain healthy.

Makes about 3 cups or 8 servings

Ingredients

  • ½ cup aquafaba (liquid from 1 can of chickpeas), low or no sodium added
  • 1/8 teaspoon cream of tartar
  • ¼ cup powdered sugar, more to taste
  • 1 ½ teaspoon pure vanilla extract

Instructions

  1. Drain the liquid from a can of chickpeas into a large bowl, reserving the chickpeas for another use. The amount will be approximately 1/2 cup of liquid, but it doesn’t have to be exact.
  2. Add the cream of tartar (to help the whipping process). Using a hand mixer, mix on medium speed for a couple of minutes until frothy. Then, beat for about 4 minutes on high speed, until stiff peaks form.
  3. Add the powdered sugar and vanilla and continue to beat about 1 more minute, until fluffy and smooth.
  4. Serve immediately for best results. This topping separates fairly quickly and it is not recommended to store it in the refrigerator. You can store extra in the freezer, for a Cool Whip-like topping that you can use to top berries, or other desserts. Perfect for a hot summer day!
Categories
Family Friendly Sauces, Dips & Dressings Snacks

Shiitake Bacon

Shiitake Bacon

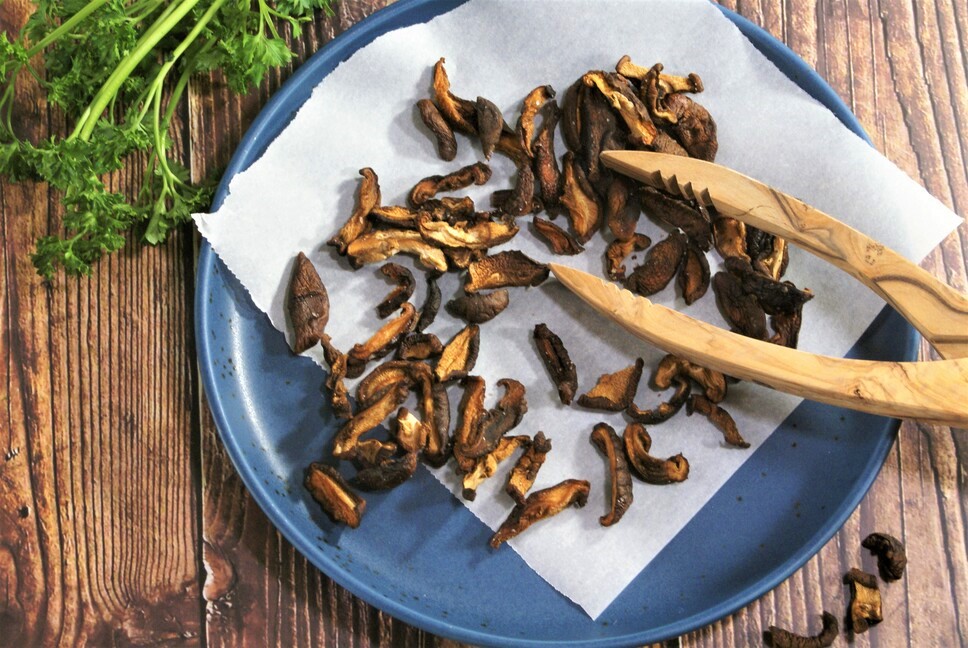
Fun for snacking or topping anywhere that you want some crunch. Experiment with flavor options by adding different herbs and spices.

Ingredients:

  • 3/4 pound shiitake mushrooms, stems removed and thinly sliced (about ¼ inch thick)
  • Avocado or canola oil spray (or 1 tablespoon oil)
  • 1/2 teaspoon sea salt (or smoked sea salt)


Instructions:

  1. Preheat the oven to 375°F. Spray a large rimmed baking sheet generously with oil spray.
  2. Toss mushrooms in pan to partially coat and top with a light spray of oil and sprinkle with salt.
  3. Bake for about 30 minutes, turning frequently with a spatula, until lightly browned and crisp.
  4. Store in a closed container in the refrigerator to keep crisp.
Categories
Sauces, Dips & Dressings

Green Goddess Dressing

Green Goddess Dressing

This dressing is absolutely packed with flavor! Use as much of the herbs as you want, in the proportion that you desire.  The fresh herbs make this dressing a phytonutrient superstar! 

This makes a great dressing for salads or bowls, a drizzle for steamed vegetables, or as a crudité dip.

Makes about 2 cups

Ingredients

  • 1/2 chopped shallot or 2 T chopped onion
  • 2 cloves garlic
  • 2 T white wine vinegar or lemon juice
  • 3/4 cup mayo (homemade, vegan, or other favorite type)
  • 3/4 cup yogurt (plant-based or other favorite)
  • 1 tsp Sriracha, more to taste
  • ¼ tsp salt and pepper, more to taste
  • Fresh dill, cilantro, basil and parsley (2-3 tightly packed tablespoons of each)

Instructions

  1. Add all ingredients to blender and blend until smooth.
  2. Taste and adjust seasonings, adding more spice or herbs as desired.
Categories
Sauces, Dips & Dressings

Fermented Red Onions

Fermented Red Onions

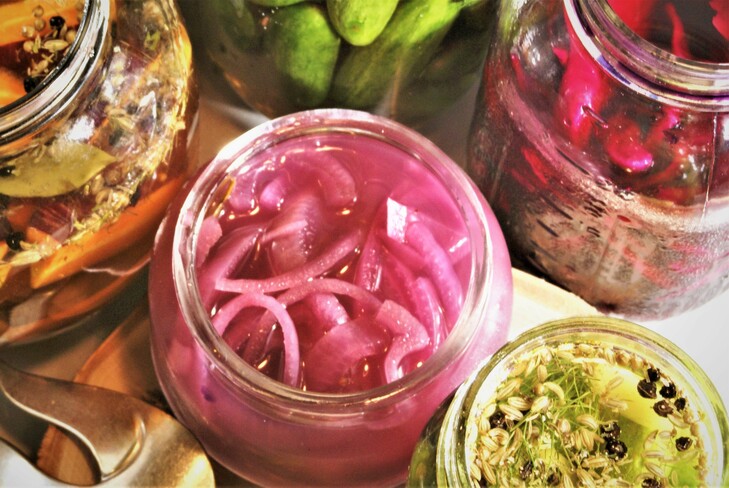
Full of healthful probiotics!  Use as a topping for tacos, sandwiches, wraps….        

Fermentation is a fun and easy experiment right in your own pantry. And the results are delicious and healthful.

Fermented red onions are closer in texture and taste to cooked onions than raw. The process of fermentation breaks down the onion’s crisp texture, making them milder with a delicate crunch.  And fermenting creates probiotic cultures that are healthful for our gut.

Ingredients:

  • 2 cups non-chlorinated (or filtered) water
  • 2 tsp sea salt or kosher salt (not iodized)
  • 1 large red onion, sliced thinly
  • 2 teaspoons (or more) sugar, or other sweetener (optional)

Instructions:

  1. Prepare canning jars: It is not clear whether sterilization of jars is necessary for fermenting vegetables as the lactic acid bacteria create an environment that other microbes do not like. That said, better safe than sorry ….so, a painless method of sterilization can be achieved using your microwave.  Wash the jars for canning with soap and water and rinse well.  Microwave your glass jars for about 4 minutes until the water has evaporated.  Cool jars to room temperature.
  2. Add the sea salt to the water and stir to dissolve.
  3. Put the sliced red onions into a mason jar, packing them in tightly.
  4.  Pour the brine over the onions, leaving one inch between the top of the jar and the top of the brine. At this point you either need airlock lids (recommended if you are going to ferment on a regular basis) or need to place a weight on the onions to keep them submerged in the brine so that they do not mold. To do this, you can use fermentation weights (or a small zip lock bag filled with a few tablespoons of water and burped of air) to set on top and weigh-down the onions.
  5. Place the jar into a small baking pan (to catch any overflow) and cover the jars. We like to cover the jar loosely with its own lid. Other options are to use an airlock lid (find online) or cover with a cloth. You can cover and screw the lid on tightly but if you do this, you have to remember to “burp” it every day or so!
  6. Place the jar in a cool dark place (below 70F) such as a lower kitchen cabinet or pantry.  After 3 days, check for signs of life: bubbles, and clouding.  Tap the jar, looking for tiny bubbles that rise to the top. Taste.  Your fermented onions should smell oniony and taste pleasantly tangy/sour. The longer you ferment the softer and more tart the onions will become and the more beneficial bacteria will be present. Ferment up to 3 weeks. (We usually ferment for about 2 weeks).
  7. After fermentation, if desired, add 2 teaspoons sugar (or more), mixing well to combine.
  8. Refrigerate.

Notes:

If more brine is needed, make additional with the same ratio- 1 heaping teaspoon (7 grams) sea salt per one cup of water, for a 3% brine solution.

If you notice a white film on the top of the jar, you may have white mold which is harmless but may change the flavor of your onions. This will not happen with an airlock lid, making these lids a worthwhile investment.