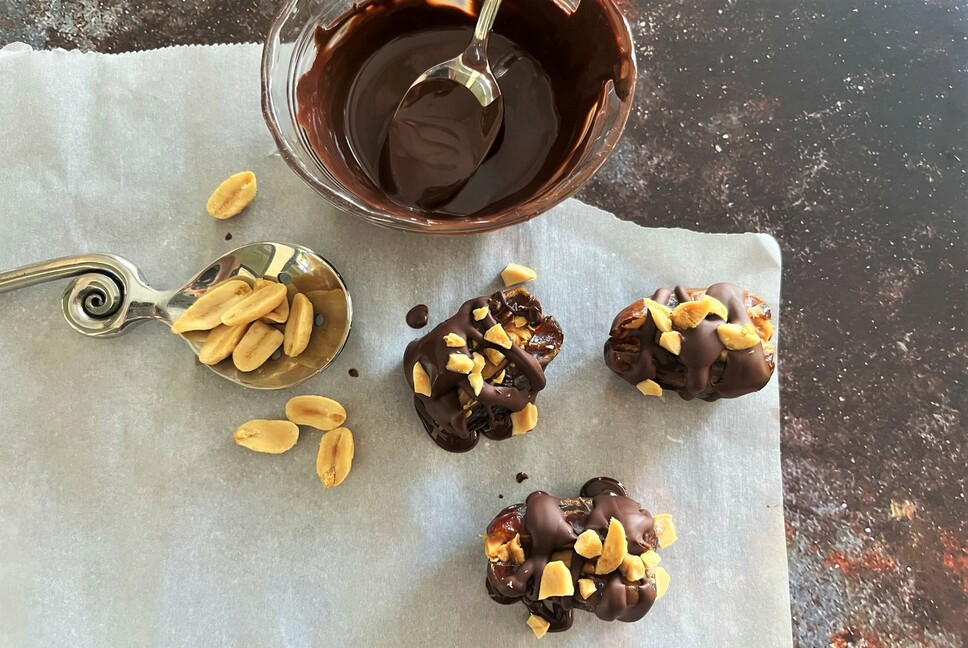
…and we love the 2-minute version of this recipe, skip melting the chocolate and, instead, sprinkle the chocolate chips on top of the nut-butter-filled date. No need to freeze – just eat immediately and enjoy!
Ingredients:
12 Medjool dates
1/2 cup crunchy all-natural almond butter (or your favorite nut or seed butter), refrigerated to firm-up
2 Tbs coarsely chopped peanuts (or other favorite nut or seed)
1/4 cup dark chocolate chips
sea salt flakes, to taste (optional)
Instructions:
Using a paring knife, carefully cut a lengthwise slit into each date and remove the pits.
Fill each date with chilled nut butter and place on a small baking sheet.
Freeze for 15 minutes to set.
Meanwhile, in a microwave-safe bowl, melt the chocolate chips by microwaving for 30 second intervals, stirring between each interval.
Drizzle the dates with melted chocolate and sprinkle with chopped peanuts (and sea salt flakes if desired).
Serve immediately and refrigerate leftovers in a sealed container.
Adapted from The Complete Plant Based Cookbook by America’s Test Kitchen
Makes about 24 rounds
Ingredients
1 cup millet
2 cups water
3 teaspoons olive oil
1 shallot, minced
6 ounces baby spinach, chopped
3 carrots, scrubbed and shredded
2 garlic cloves, minced or pressed
2 teaspoons curry powder
1 teaspoon turmeric
¼ cup plain yogurt (plant-based or regular)
¼ cup ground flaxseed
3 tablespoons minced cilantro
Oil spray (avocado or olive)
Dipping sauce such as chutney, chimichurri, marinara, or yogurt sauce. An easy sauce uses yogurt mixed with a generous squeeze of lime, a pinch of garlic powder, salt and pepper.
Instructions
Preheat the oven to 375°F (or convection 350°F) and line two baking sheets with parchment paper. Spray the paper with olive or avocado oil spray.
Add a teaspoon of olive oil to a nonstick medium saucepan and heat over medium-high heat. Add the millet and toast, stirring for about 3 minutes. Add the water to the pan and bring to a boil. Reduce heat to low, cover, and simmer until the liquid is absorbed, about 15 to 20 minutes. Turn off the heat, and let stand, covered, for 10 minutes. Then transfer to a large bowl.
Heat 2 teaspoons of oil in a nonstick skillet over medium heat. Add the shallot and cook until softened, about 3 minutes. Add the carrots and spinach, cooking until the spinach wilts, about 3 minutes more. Stir in the garlic, curry powder, turmeric, and ¼ teaspoon pepper and cook until fragrant, about 30 seconds. Transfer the mixture to the bowl with millet.
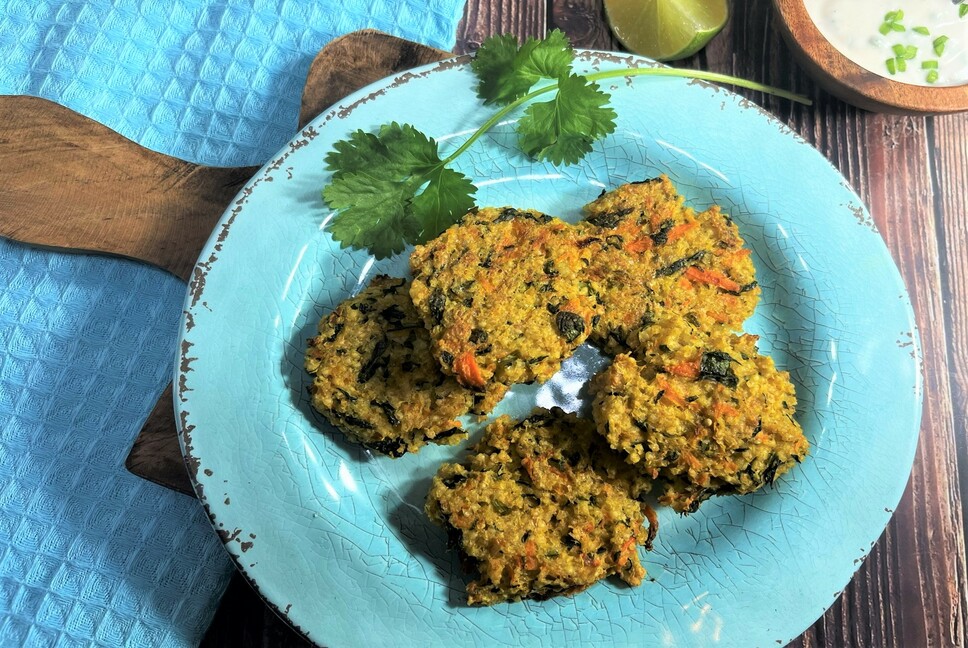
Add the yogurt, flax and cilantro to the millet mixture and stir until combined. Let sit until the mixture holds together, about 10 minutes. Use a 2-tablespoon measure (or small ice-cream scoop) to create a rounded mound of the mixture on the prepared (sprayed) parchment sheet, pressing to a ½-inch-thickness round. Repeat with the remainder of the mixture.
Spray the top of the cakes with oil spray and bake about 25 minutes or until the edges are crispy and slightly browned. Sprinkle with salt.
Serve with sauce of your choice. Garnish with cilantro if desired.
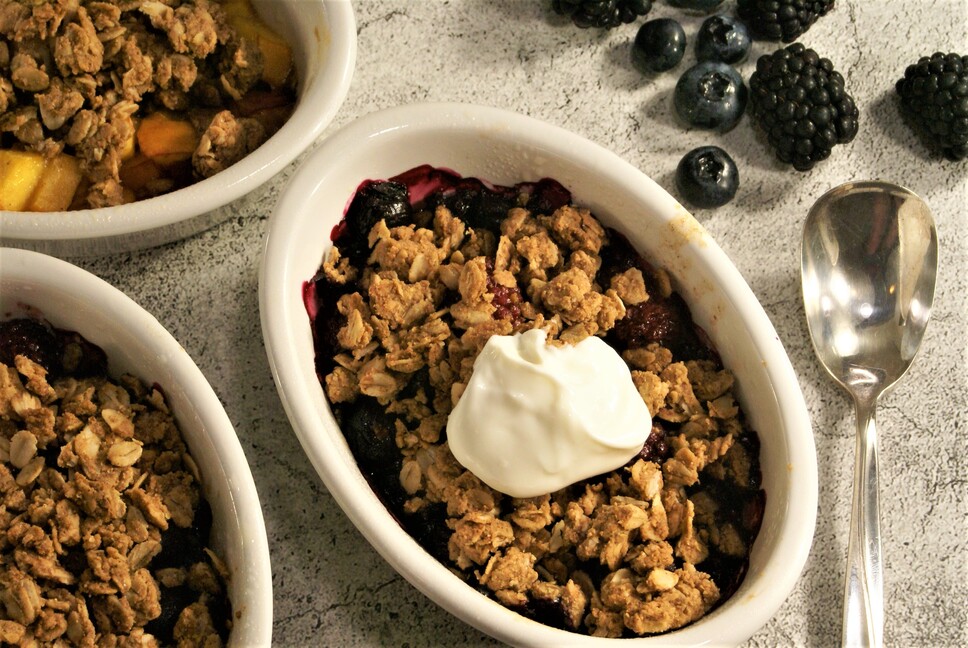
A delicious and satisfying dessert that it so healthy you can feel good about enjoying it anytime. And you can use berries or your favorite stone fruit. Here we made both a mixed berry crumble and a peach crumble, just gathered from our local U-pick farm!
Ingredients
Crumble:
1 cup rolled oats
1/3 cup oat flour (or other whole grain flour)
1/3 cup of sliced almonds (or coarsely chopped nuts of your choice)
1 tablespoon ground flax seed
1 tsp cinnamon
1/4 tsp salt (optional)
1/3 cup tahini or almond butter
2 tablespoons maple syrup
Fruit filling:
1 ½ pounds berries (or stone fruit), prepared and cut into approx. ¾ inch pieces
1 tablespoon lemon juice
3 tablespoons maple syrup
1 tsp vanilla
2 tablespoons oat flour (or other whole grain flour)
Optional topping:
Plant-based (or dairy) plain (or vanilla) yogurt
Instructions
Preheat oven to 375 F. Spray baking dish (or ramekins) with non-stick cooking spray.
In a medium bowl, combine the ingredients for the fruit filling. Spread into the baking dish or divide evenly into ramekins.
In a medium bowl, combine the topping ingredients, mixing to form a clumpy dough. Sprinkle evenly over the top of the fruit.
Bake for 25-35 minutes until the top is lightly browned and a bit crispy. Cool about 10 minutes.
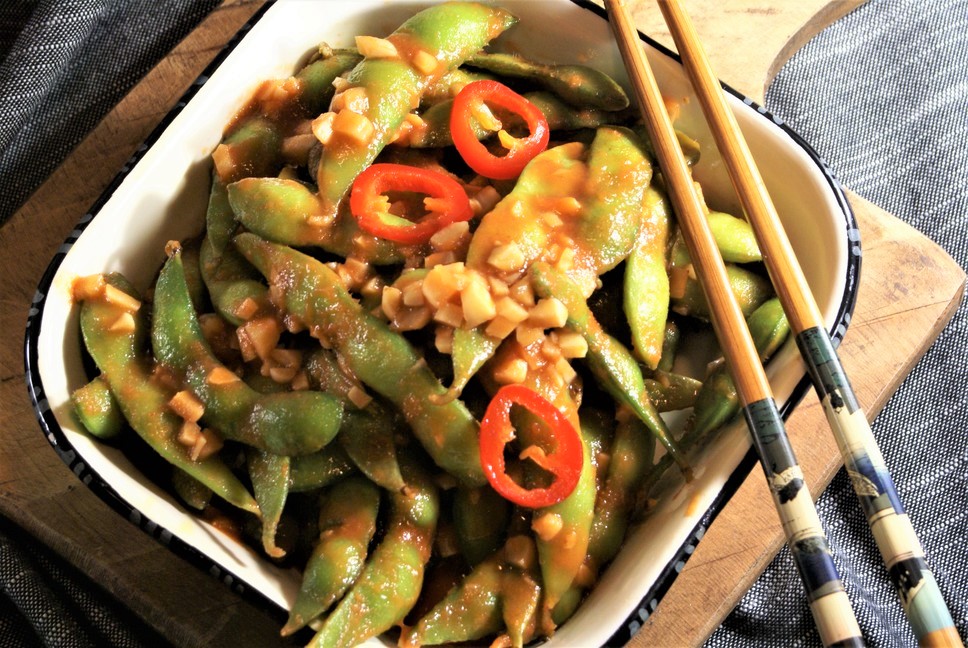
1 teaspoon sriracha chili sauce (or more to taste)
¼ teaspoon salt
1 tablespoon vegan butter
2 tablespoons water
¼ teaspoon sugar
8 oz edamame pods, cooked according to package directions
Squeeze of lemon juice (optional)
Instructions:
Heat oil in medium-sized pan over medium heat and sauté minced garlic for about 7 minutes, until softened. (Do not scorch garlic).
Add the remainder of sauce ingredients (excluding edamame and lemon) and warm for about 4 minutes until reduced and moderately thickened. (The vegan butter is what really makes this sauce delicious and can be reduced to 2 teaspoons but not deleted.)
Toss edamame pods in the sauce allowing to warm for about 1 minute. Move to serving dish and top with a small squeeze of lemon (optional). Garnish with sesame seeds if desired.
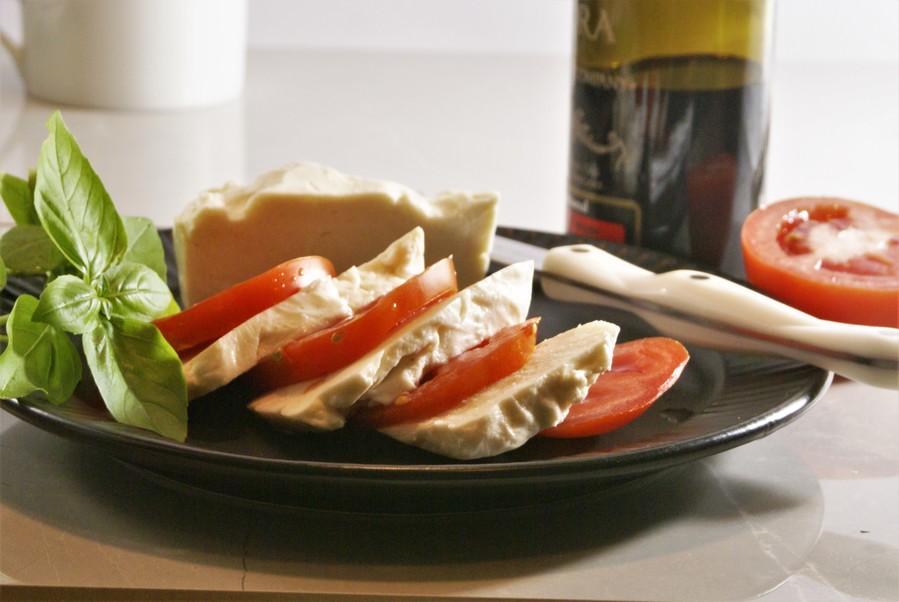
We love this cheese! We needed a way to satisfy our craving for mozzarella cheese but without the processed flavor and unhealthy fats found in store-bought vegan cheese.
Ingredients:
1/2 cup raw cashews, soaked
3/4 cup water
1 tablespoon freshly squeezed lemon juice
1 tablespoon white vinegar or apple cider vinegar
1/2 teaspoon salt
3 tablespoons tapioca starch
Instructions:
Boil 2 cups of water, pour over the cashews and let soak for at least 5 minutes.
Drain the cashews, and add to a blender along with ¾ cup fresh water, lemon juice, vinegar, salt and tapioca starch. Blend until very smooth, scraping down the sides of the blender as needed. The mixture will be watery.
Pour the mixture into a small saucepan and cook over medium heat, stirring consistently and scraping up the bottom with a spatula or wooden spoon.
Within a few minutes, the mixture will start to get clumpy. Stir constantly until it suddenly becomes thick and smooth and sticks together in a clump. Remove from the heat.
Variations:
If you would like a stretchy smooth cheese for topping pizza or lasagna, use right away, placing dollops on top of the lasagna at the end of cooking. For pizza, spread on top of the sauce layer before baking.
If you would like a consistency like a fresh mozzarella ball, place a portion into a small cup or container and freeze overnight. Defrost and use sliced for caprese salad (as shown here) or to satisfy that craving for cheese and crackers.
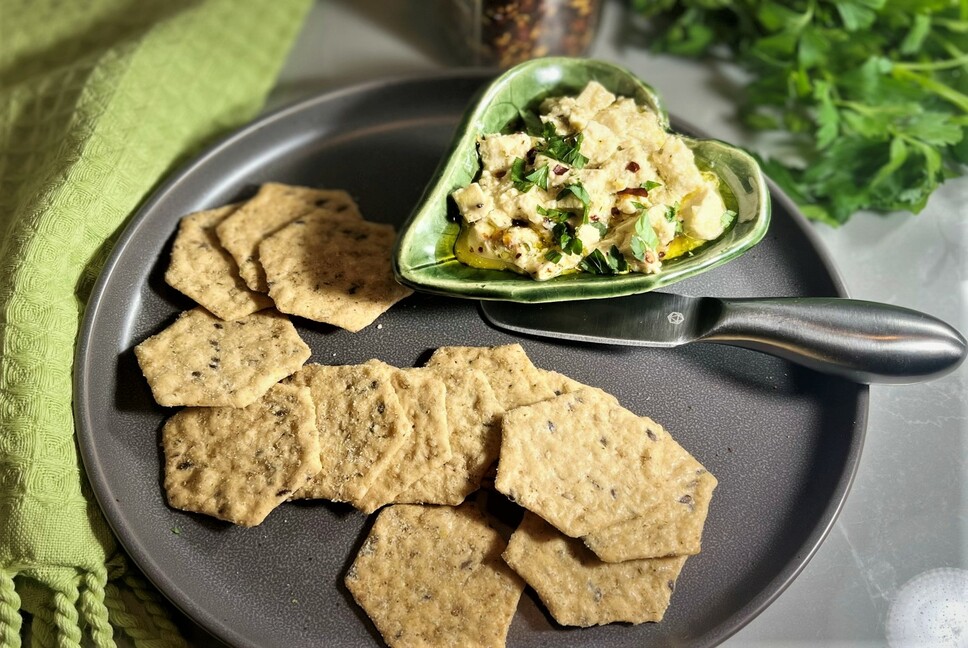
This recipe will please even the pickiest cheese lovers.
Ingredients:
Extra-firm tofu, 14-ounce block
3 tablespoons white miso paste
3 tablespoons apple cider vinegar
1/4 cup lemon juice
2 tablespoons extra virgin olive oil
4 garlic cloves crushed or pressed
3 tablespoons nutritional yeast
1 tablespoon dried oregano
1/2 teaspoon onion powder
1 tablespoon chopped fresh parsley
1/4 teaspoon salt
1/2 teaspoon black pepper
½ teaspoon red pepper flakes (optional)
Instructions:
Drain the tofu and slice vertically into 4 slabs. Press tofu with a tofu press. (Or, line a colander with a few layers of paper towels or a clean dish towel. Place the tofu slabs on top, cover the tofu with another paper towel or clean dish towel. Next, weigh the tofu down with a heavy pan). Press the tofu for at least 30 minutes to one hour.
Once pressed, cut the tofu into small cubes.
In a medium bowl, whisk together the miso, vinegar, lemon juice, oil, garlic, nutritional yeast, oregano, onion powder, parsley, salt, pepper, and red pepper flakes (if using) until smooth. Add the tofu pieces and stir gently to coat.
Refrigerate for 4 to 48 hours. Serve with crackers or pita, or top a salad, sandwich, wrap or pasta. Try combining with diced watermelon and arugula for a refreshing salad.
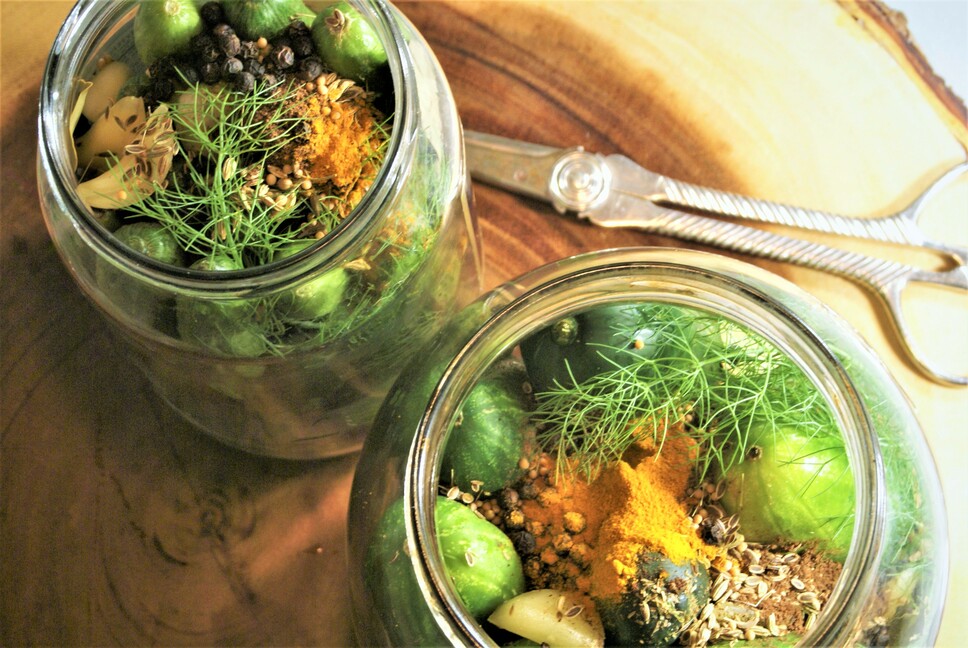
These pickles are so fantastic that you will not want to go back to store-bought pickles. But don’t worry, the recipe is easy. And after your first batch, you will be an expert fermenter! You can always double or triple the recipe if you have the fridge space.
Ingredients:
2 lbs. pickling cucumbers– try to find similar sized
5 cups water (non-chlorinated)
2 tablespoons fine sea salt (not iodized)
1/4 teaspoon turmeric
Spices of your choice, use as many of these as you have on hand: 1 teaspoon each per jar: fennel seeds, coriander seeds, allspice, dill seeds, mustard seeds, celery seeds
12 garlic cloves – 6 per jar, sliced
Fresh dill sprigs (optional)
1 fresh red chili pepper or ½ teaspoon chili flakes (optional)
6 bay leaves – 3 per jar (not optional- tannins are needed for crispness).
Supplies:
2 (quart-sized) jars
Airlock fermentation lids (vs. fermentation weights or sandwich-sized Ziplock bags)
Instructions:
Prepare canning jars: It is not clear whether sterilization of jars is necessary for fermenting vegetables as the lactic acid bacteria create an environment that other microbes do not like. That said, better safe than sorry ….so a painless method of pasteurization can be achieved using your microwave. Wash the jars for canning with soap and water and rinse well. Leave about 1/2 teaspoon water in each jar and microwave the glass jars for about 4 minutes. Cool jars to room temperature.
Rinse the cucumbers and leave whole, slicing about 1/16 inch off of the blossom end (opposite of the stem end). This is critical for keeping your pickles crunchy.
Make the brine: Mix 2 tablespoons salt and 5 cups water until dissolved. Add the turmeric and stir to combine.
Place the whole spices in the bottom of the jars. Then add one to two layers of cucumbers (depending on their length and the height of your jars), standing on end, then add garlic, fresh dill sprigs, chilies, bay leaves.
Press the contents down, leaving at least an inch at the top of the jar. Pour the brine over the pickles, leaving one inch between the top of the jar and the top of the brine. At this point you either need airlock lids (recommended if you are going to ferment on a regular basis) or need to place a weight on the pickles to keep them submerged in the brine so that they do not mold. To do this, you can use fermentation weights (or a small zip lock bag filled with a few tablespoons of water and burped of air) to set on top and weigh-down the pickles.
Place the jars into a small baking pan (to catch any overflow) and cover the jars (with airlock lids, their own lid loosely applied, or a cloth). You can cover and screw the lid on tightly but if you do this, you have to remember to “burp” it every day or so!
Place the jar in a cool dark place (below 70F) for 3-7 days (a lower kitchen cabinet or pantry). After 3 days, check for signs of life: bubbles, and clouding. Tap the jar, and see if tiny bubbles rise to the top. Taste. The longer you ferment the softer and more tart the pickles will become and the more beneficial bacteria will be present. Mildly sour pickles that remain somewhat crisp will about 3 days. Longer fermentation will make a more sour pickle that is softer.
When the pickles are fermented to your liking, place the jar in the fridge. The pickles will continue to ferment, but much more slowly.
Notes:
If more brine is needed, make additional with the same ratio- 1 heaping teaspoon (7 grams) sea salt per one cup of water, for a 3% brine solution.
If you notice a white film on the top of the jar, you may have white mold which is harmless but may change the flavor of your pickles. This will not happen with an airlock lid, making these lids a worthwhile investment.
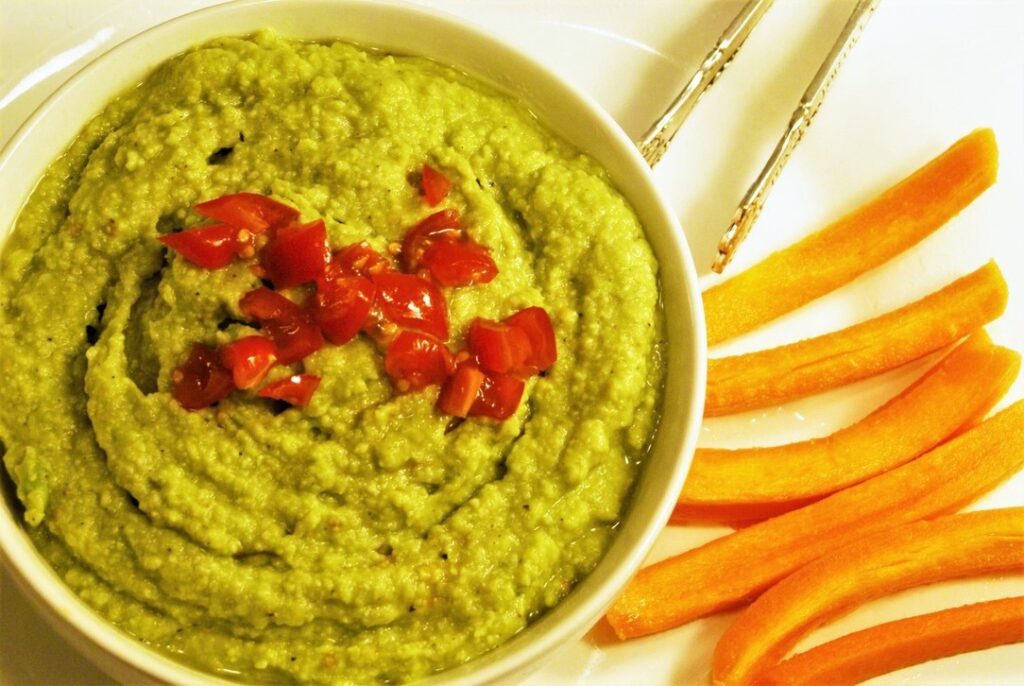
Adding edamame to your guacamole is a great way to bump-up the beans in your diet and add extra staying power. And the edamame makes your guacamole even more colorful.
Makes 6 servings
Ingredients:
6 ounces shelled edamame (green soybeans)
½ onion, chopped
½ cup tightly packed cilantro
One large avocado, peeled, pitted and cubed
1-2 limes juiced
3 tablespoons tomatillo (green) salsa
Finely chopped tomato (optional)
Salt and pepper to taste
Instructions:
Place the edamame, onion, and salsa into a food processor. Process until ground to a paste.
Add the avocado, juice of one lime (to start), and cilantro. Pulse until just incorporated but chunky. Season to taste with salt and pepper and more lime juice if desired.
Refrigerate until serving. Just before serving, stir in half of the chopped tomato and top with the rest (if desired).
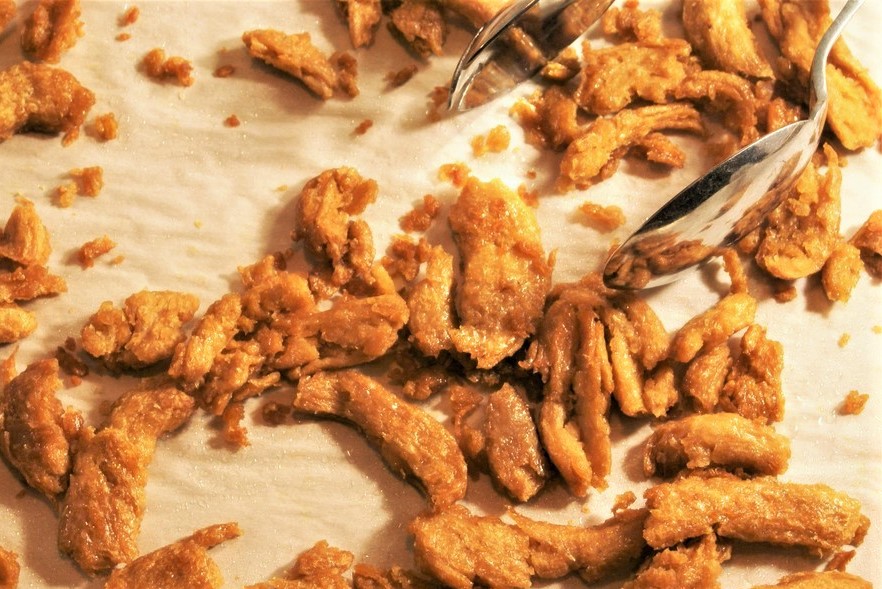
This is a go to recipe as it is versatile and delicious. Use these crispy-outside, tender-chewy-inside strips for topping a salad or main dish bowl, add to stir-fries or eat fresh from the oven when you are craving a crispy bite.
It is easy to marinate and coat a whole batch, refrigerate, and pull out the desired amount for a quick oven-fry.
Ingredients:
1 package soy curls (8 oz. dry)
1/3 cup low sodium tamari or soy sauce
1/2 teaspoon garlic powder
3 tablespoons cornstarch
Oil spray (avocado or other)
Instructions:
Preheat oven to 450 F.
Rehydrate soy curls according to package directions.
Squeeze all excess water from the soy curls, using your hands.
Place soy curls in a bowl, pour over tamari sauce, and sprinkle with garlic powder.
Squeeze soy curls in the bowl with your hands while turning to distribute the flavors.
Sprinkle with cornstarch and toss to coat evenly.
Cover a baking sheet with parchment paper and spray lightly with oil spray.
Place soy curls in an even layer, not overlapping. Spray with a thin coating of oil spray. (A full package will require two baking sheets.)
If not using all, cover and refrigerate the unused portion.
Bake for 10-12 minutes, turning half-way through, until lightly browned and crispy on the edges.